Estimate Integration Installation
This is a supplementary guide for integrating Hover Estimate data into Salesforce
Overview
This guide outlines the steps to connect your Salesforce organization with Hover's Estimation tool, enabling a seamless workflow for generating estimates and bringing that valuable data directly into your Salesforce environment.
Just like the established integration for Hover measurements, connecting the Estimate functionality relies on a secure authentication process between your Salesforce instance and your Hover account.
By establishing this connection, your team can initiate the creation of Estimates within the Hover platform, leveraging Hover's powerful AI and data to generate comprehensive material estimates. Once these lists are finalized in Hover, this integration provides the pathway to manually synchronize that detailed estimate information into a new "Hover Estimates" custom object in Salesforce. This ensures that your sales, operations, and fulfillment teams have centralized access to critical project details, including accurate material quantities and specifications.
The setup process mirrors the existing integration for Hover measurements, requiring the creation of an authentication provider in Salesforce and a corresponding named credential. This consistent approach simplifies the configuration and allows administrators to efficiently enable this powerful new capability.
The following sections will guide you through the necessary steps to establish this connection and begin leveraging the power of Hover Estimates directly within your Salesforce workflows.
Creating an Integration in Hover
You should already have one integration in Hover to connect the integration for a measurements workflow. This process is identical; at the end of this process, your Hover organization should have two unique integrations. Here are the steps to create another set of credentials in Hover:
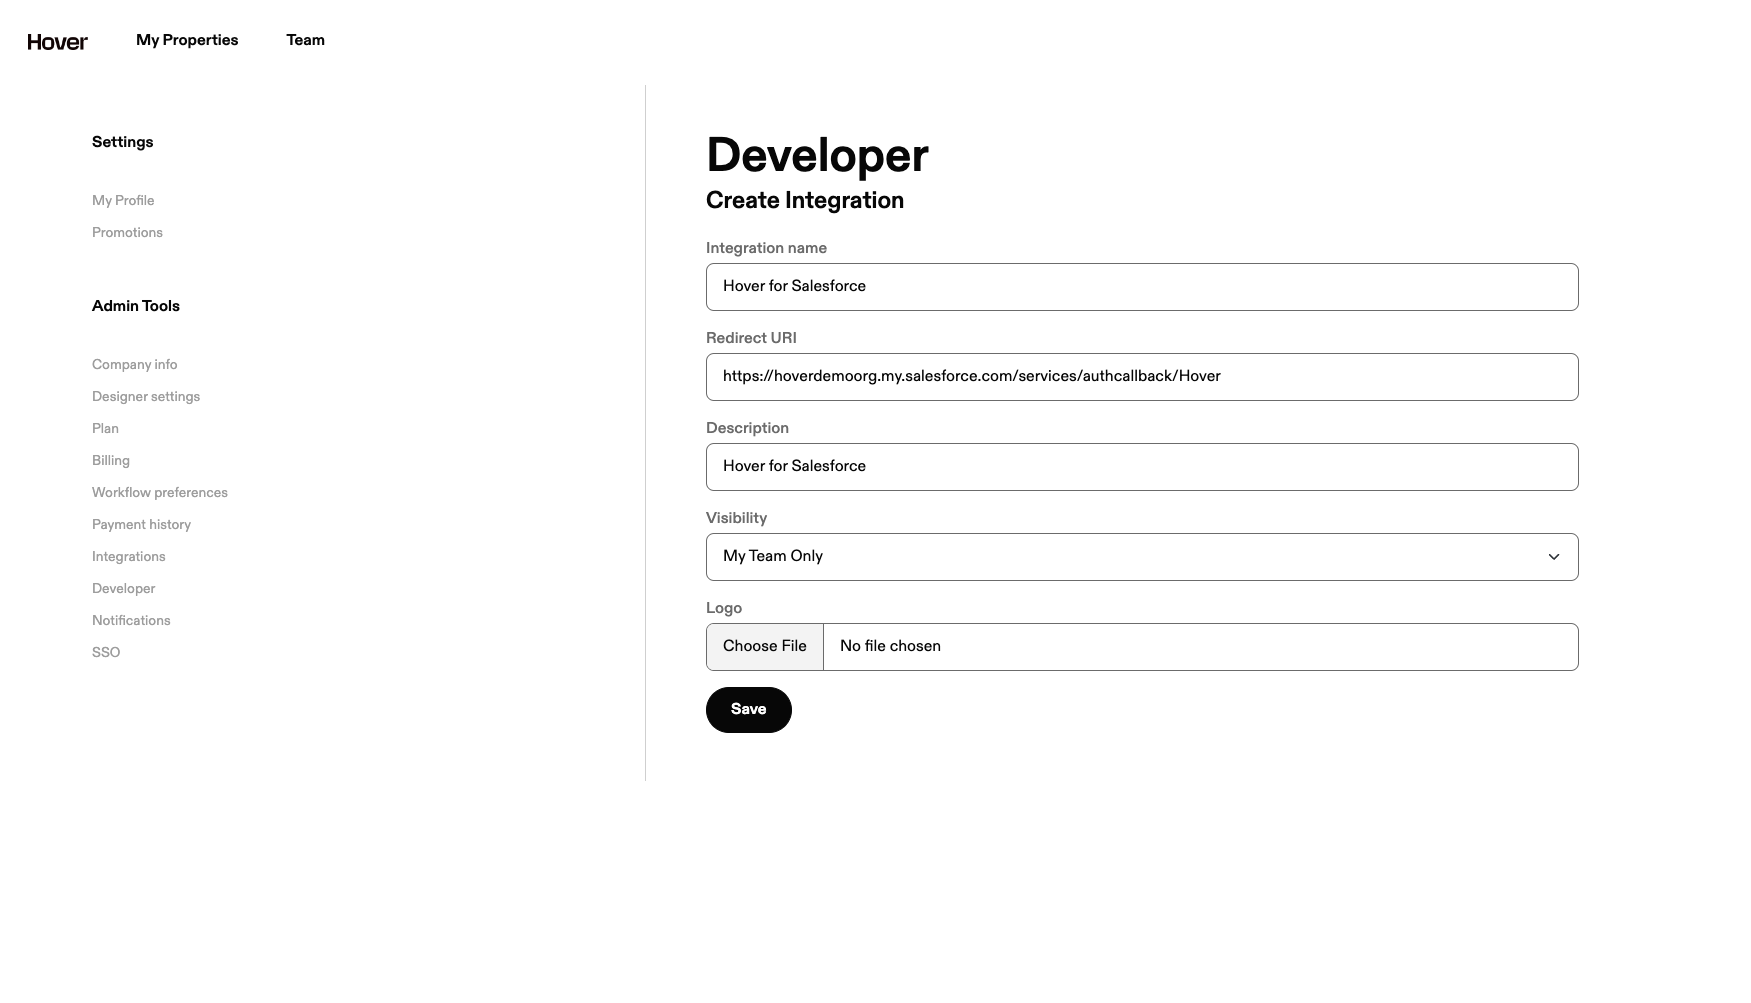
- Log into Hover and follow these instructions to create a new integration in your Hover org.
- You’ll need to take note of your integration’s Client ID and Client Secret fields to connect to Salesforce.
Creating an External Auth Identity Provider
- From the Salesforce Quick Find box, search for “Named Credentials”
- Select the
Newbutton. A modal will appear, allowing you to make the following configurations: - On this page, there will be multiple fields that can be filled with the bolded values below (note: these values are case sensitive).
- Label: HoverGraph
- Name: HoverGraph
- Authentication Protocol: OAuth 2.0
- Authentication Flow Type: Authorization Code (Browser Flow)
- Client ID: Your Hover Client ID (from the previous step)
- Client Secret: Your Hover Client Secret (from the previous step)
- Authorize Endpoint URL: https://hover.to/oauth/authorize
- Token Endpoint URL: https://hover.to/oauth/token
- Disable the PLCE Extension checkbox
- Press Save
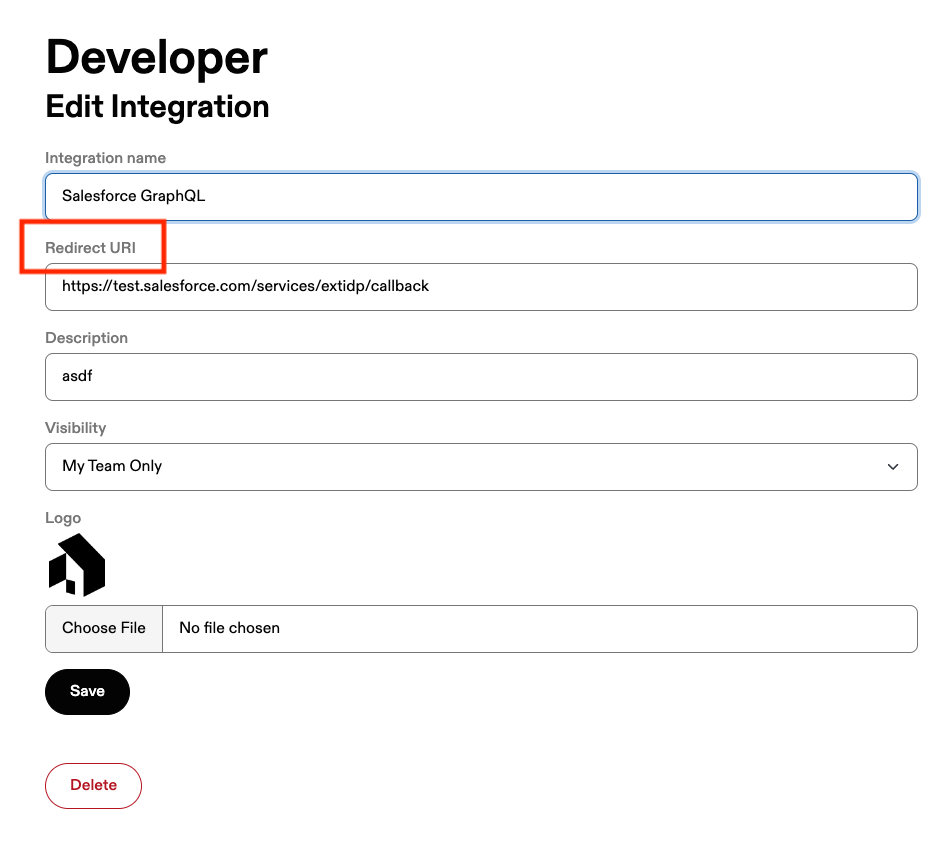
- Once saved, the page should display a table with your new auth identity provider. There is a Callback URL column that will provide a
https://test.salesforce.com/services...endpoint. Copy this endpoint and update your Hover integration'sRedirect URIfield with that value.
Creating an External Credential and Principal
The next steps involve creating an External Credential to link with your External Auth Identity Provider.
- In the Quick Find Menu, navigate to "Named Credentials.
- Click on the External Credentials tab and click the New button to start the creation process.A modal will pop up on your screen; enter the following values in the corresponding fields:
- Label: HoverGraphql
- Name: HoverGraphql
- Authentication Protocol: OAuth 2.0
- Authentication Flow Type: Browser Flow
- Identity Provider: Select the
External Auth Identity Providerand input theHoverGraphone you created in the previous step. - Additional Status Codes for Token Refresh: 400
- Click Save
Once the External Credential has been created, a table will appear, allowing you to click on the name of your new credential. Scroll down to the Principals section and select Newto create a new principal.
- Parameter Type: Hover
- Sequence Number: 1 (default)
- Identity Type: Named Principal
Click Save. Once the Principal has been created, click the dropdown box under the Actions column of the table. Click the Authenticate button to start the authorization process with Hover.

This process will redirect you to your Hover account and prompt you to allow the integration you created to access your data programmatically. Once you grant access and follow the on-screen prompts, you will be redirected back to Salesforce.
Set Up Named Credentials for Hover Estimates
- In the Quick Find Menu, navigate to "Named Credentials"
- Click the “New” Dropdown list and select “New”
- Input the following fields bolded below (case-sensitive):
- Label: HoverGraphql
- Name: HoverGraphql
- URL: https://graph.hover.to/graphql
- Enabled for Callouts (toggle): On
- External Credential: Input the External Credential you created in the previous step.
Once completed, click Save. You should now have two Named Credentials: a legacy credential called Hover that handles base API requests for job and measurement data and a credential called HoverGraphqlthat will make requests to Hover's API to obtain estimation data.
Creating and Assigning a Permission Set
Salesforce's new named credential flow requires the integration to create a permission set and apply it to the guest site user. This will allow the integration to receive webhook events coming from Hover and obtain data in real-time. The following steps will walk you through creating, assigning, and configuring a new permission set to access this data.
- From the Quick Find Menu, search for Permission Sets
- Click the
Newoption to start the creation process.- Label: Hover
- API Name: Hover
Click Save to create the new permission set. Once it has been created, navigate to the new permission set and select the Manage Assignments option. Click on the Add Assignment option.
From the available users to assign, search for the Hover Guest Site User that was created as a part of setting up a digital experience site. Select the No Expiration Date option to allow the integration continuous access to obtain data from Hover's API. Click Next and then click Assign.
Configuring the Permission Set
There are a few additional configurations needed for the integration to function correctly.
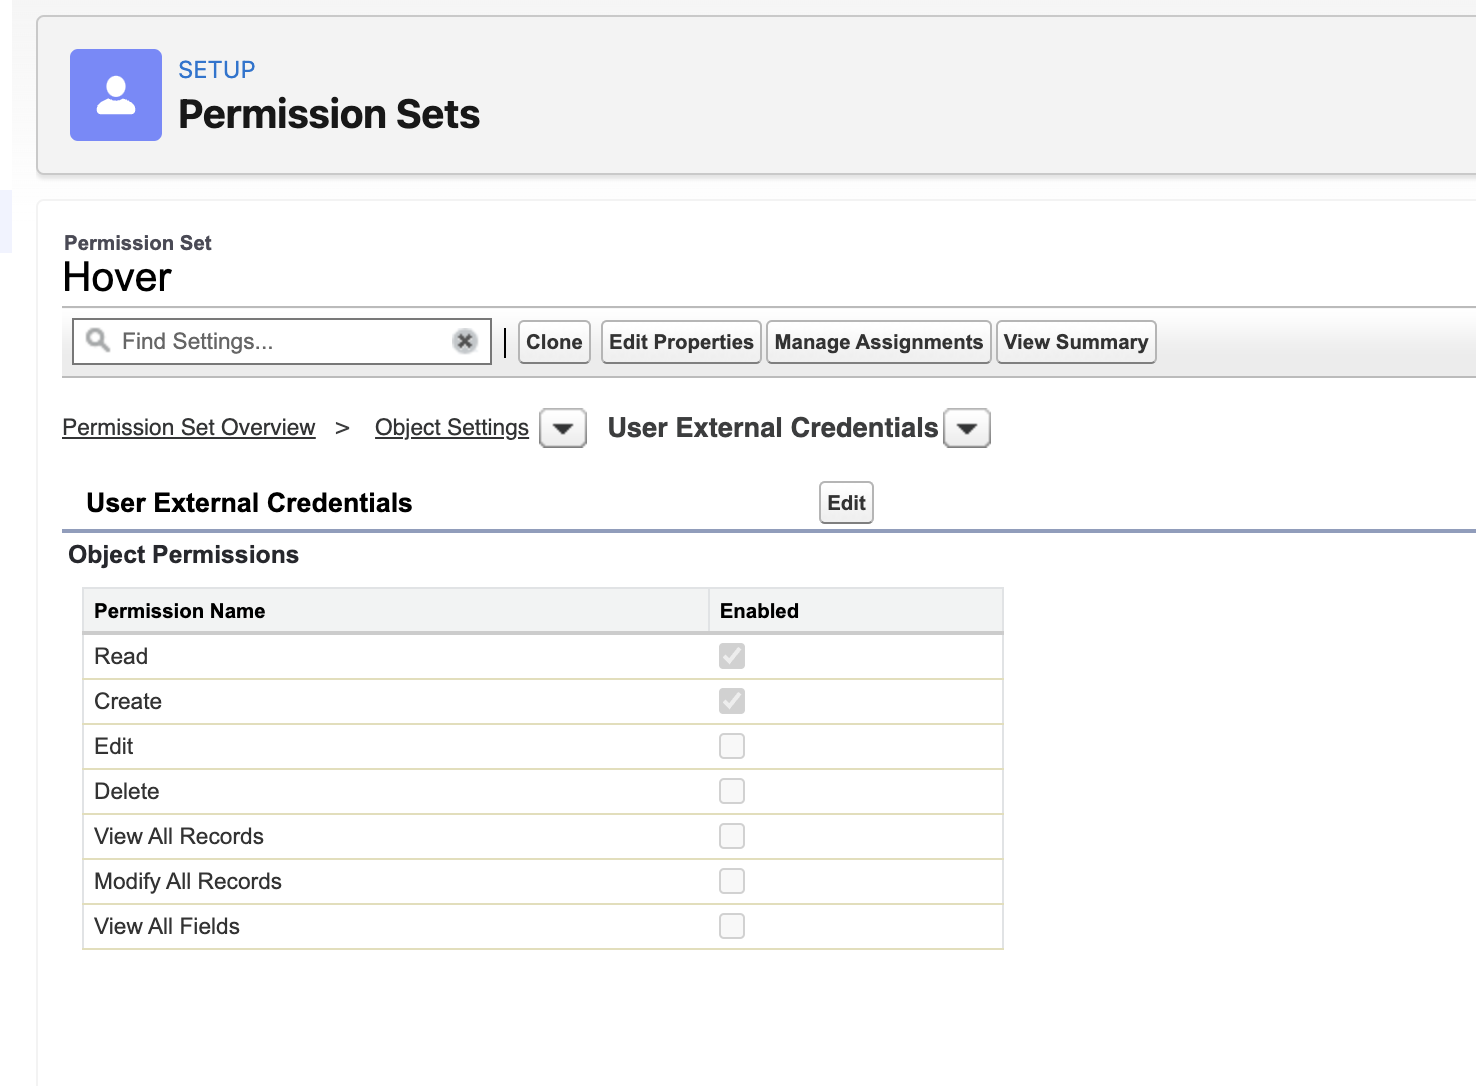
- From the Permission Set configurations, select the
Object Settingsoption. - In the search box, search for
User External Credentialsoption, select it, and then pressEdit. - Enable the checkboxes for
ReadandCreateaccess and save your changes.
Guest Site User Profile Changes
The final step involves adding a configuration for a Guest Site user to utilize the external credential that we set up in previous steps.
- From the Quick Find menu, search for
Digital Experiencesand select theAll Sitesbutton - For the site you configured in previous steps, select the
Builderoption. - On the builder, select the settings cog on the left side of the screen and access the Guest User Profile
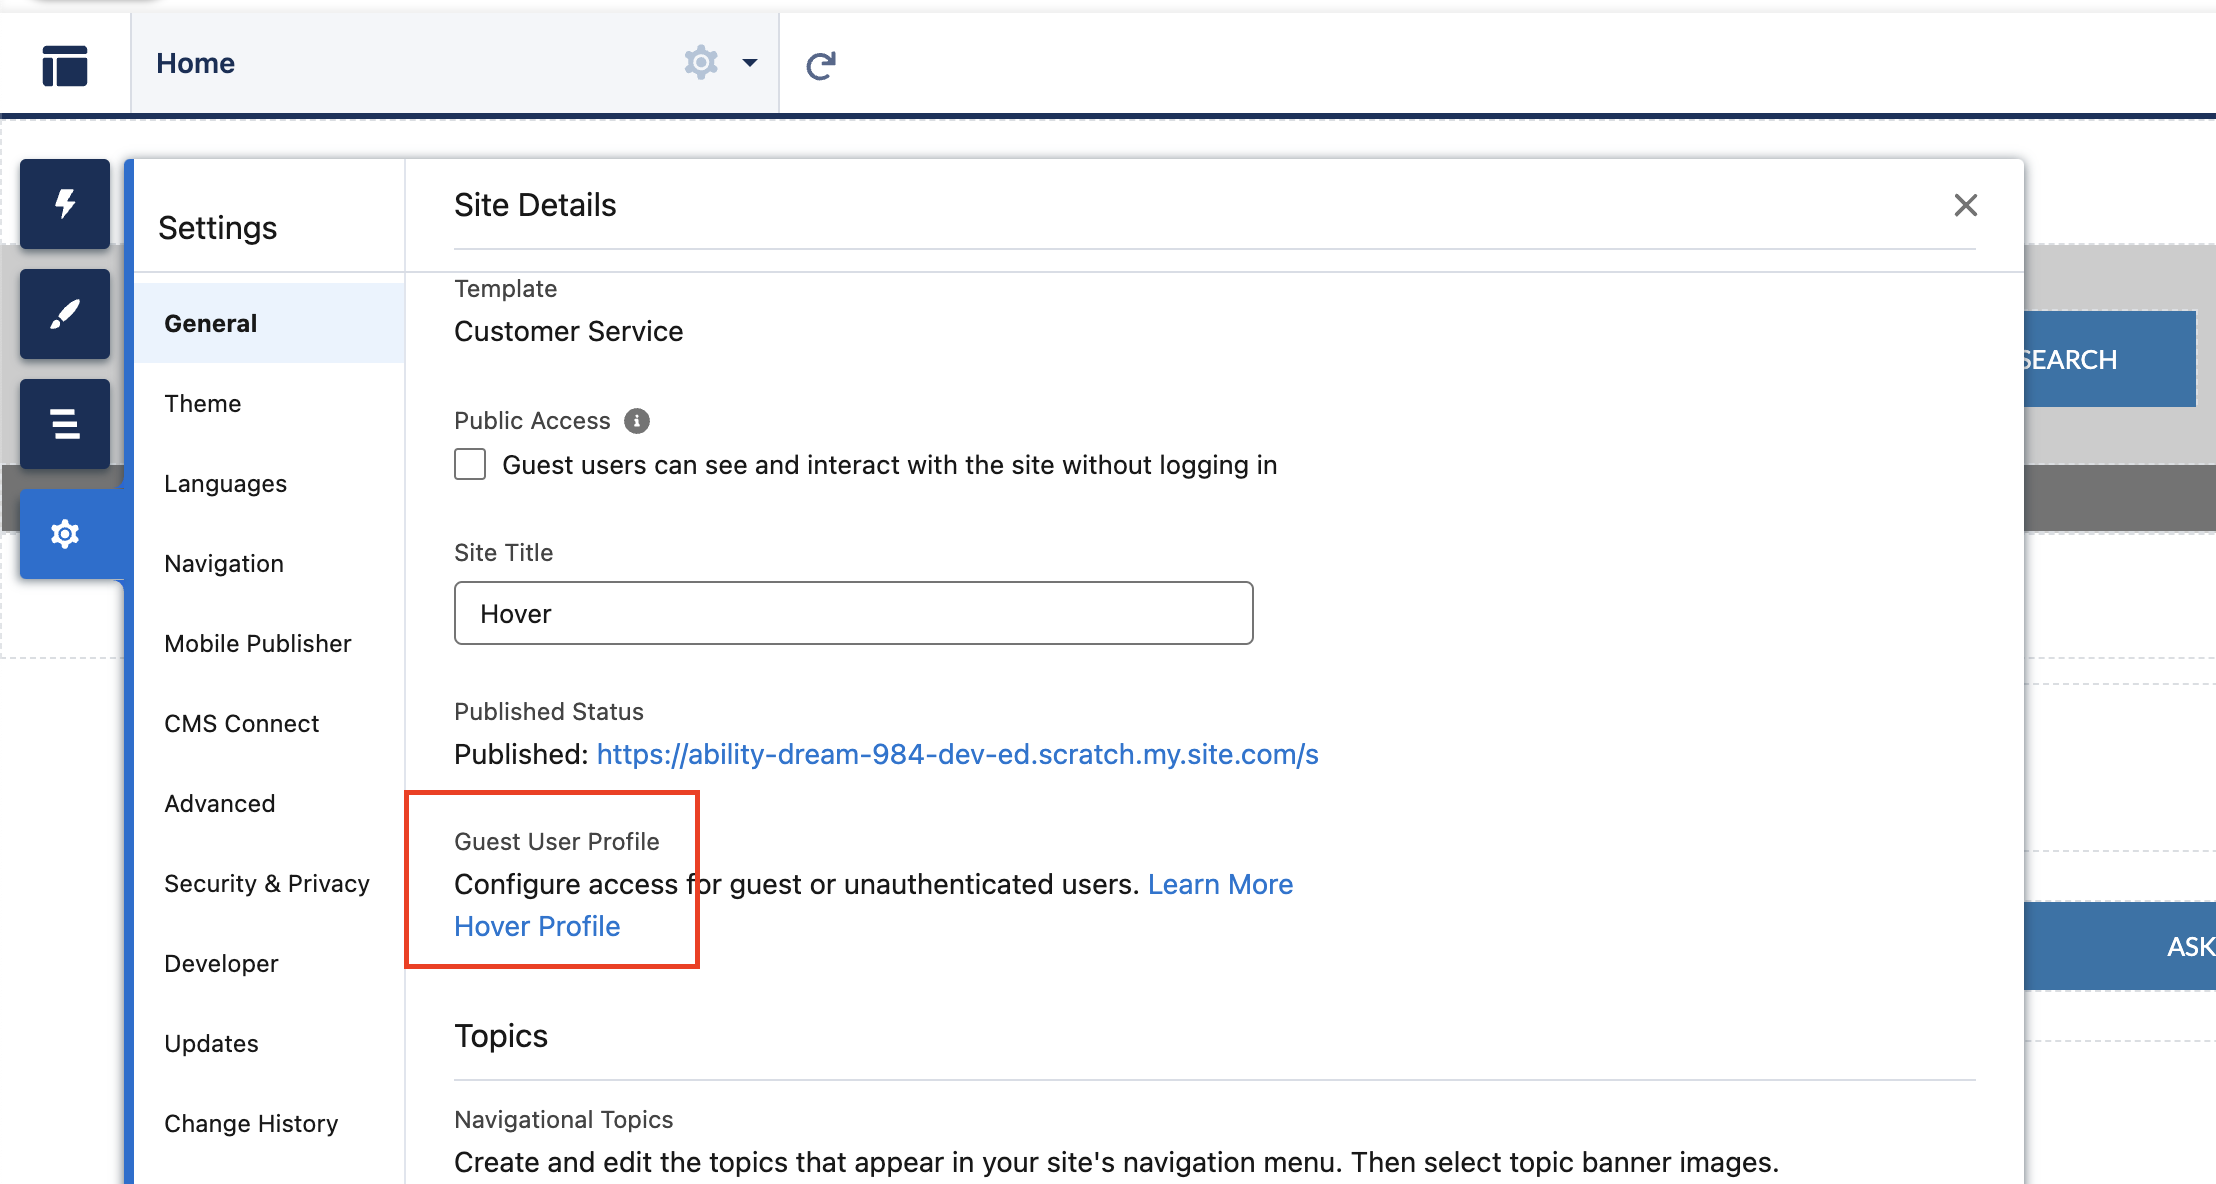
- On the profile, search for the
Enabled External Credential Principal Accessconfiguration and click Edit. - On the following screen. select the
HoverGraphqlcredential principal and use the arrow keys to add it to theEnabledsection. Save your changes.
Updated 4 months ago