Sending Hover Capture Requests (Connects) using Zapier
Build a form for your website and automatically send Hover Connect Requests to your prospective homeowners.
This guide will walk you through how to set up a form within Zapier and automatically send Hover Connect Requests to homeowners who fill out that form . It's common (and recommended) to have some sort of customer or homeowner intake form on your company's website. Using Hover Zapier integration, you can automatically send connect requests when users fill out and submit a form, creating a streamlined workflow for your teams and a responsive, smooth experience for the homeowners interested in your services.
Prerequisites
- A subscription to Zapier (you can sign up for a 14 day free trial here!)
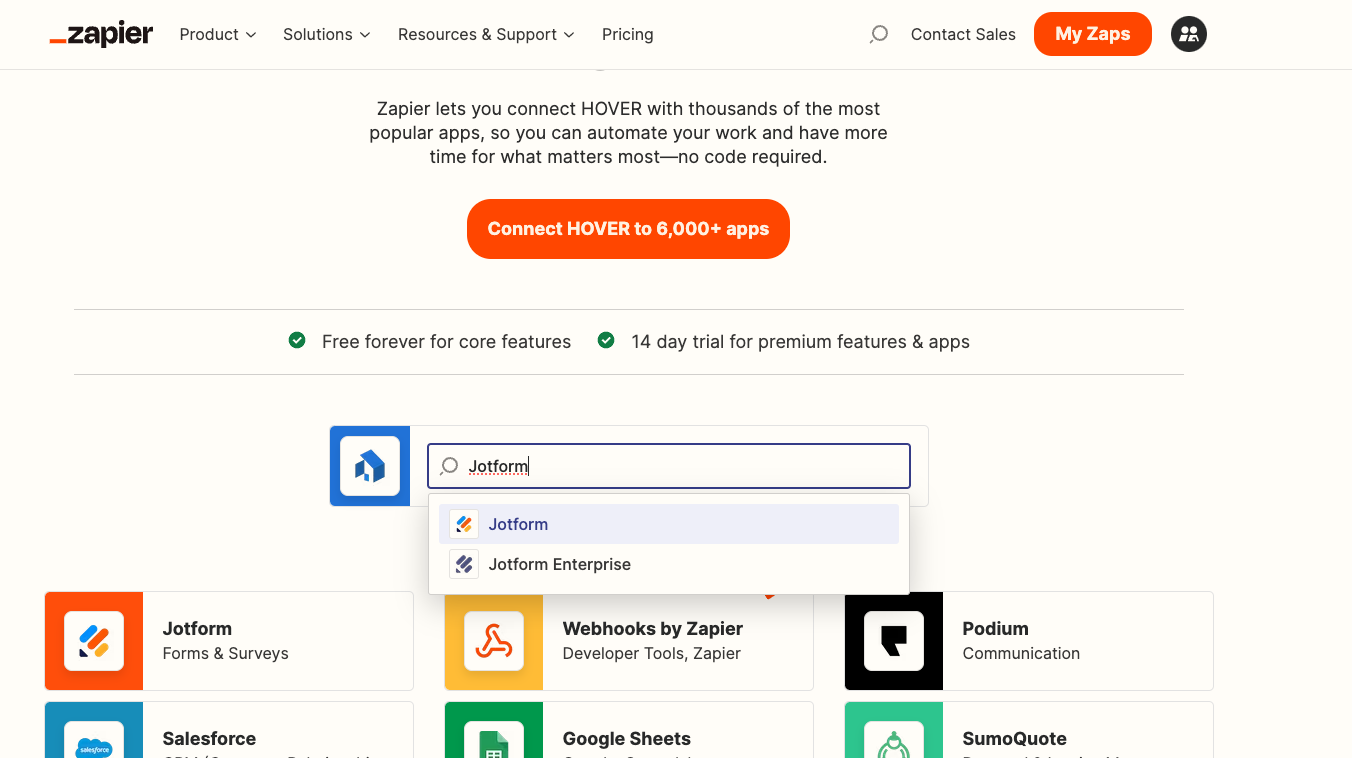
- Confirm that the form builder, CRM, or other system of your choosing has a Zapier integration. You can search for your system on this page in the
Search for pairing appssearch bar
Building Your Web Form
We recommend using a form builder that is supported by Zapier. Depending on the complexities of your form, you can choose the system that will work best for your needs and integrate it into your website. Any form that you build will need the following required fields:
-
First Name
-
Last Name
-
Mobile Phone Number
-
Email Address
-
Street Address
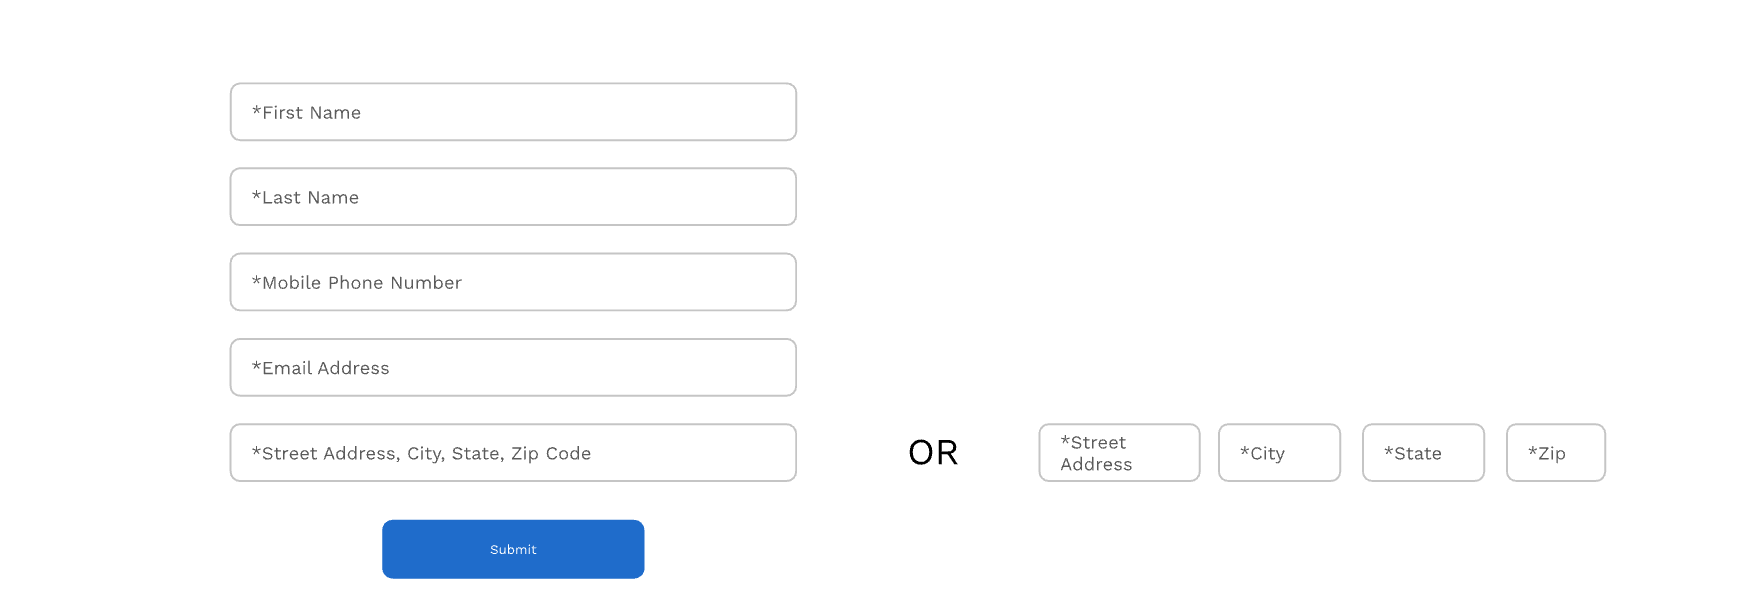
You must have all of these fields within your form for the Hover Connect Request to work correctly
Connecting Your Form to Zapier
Within Zapier, you will want to create a new Zap that connects your form builder you Hover. The first step in any Zap is a trigger, which is the action that initializes the rest of a Zap/process. From the trigger selection, search for the form app that you chose and select New Entry or New Submission as the trigger to your Zap.
The next step is to set up your action. Search for the latest version of the Hover integration and select Create a Capture Request as the action.
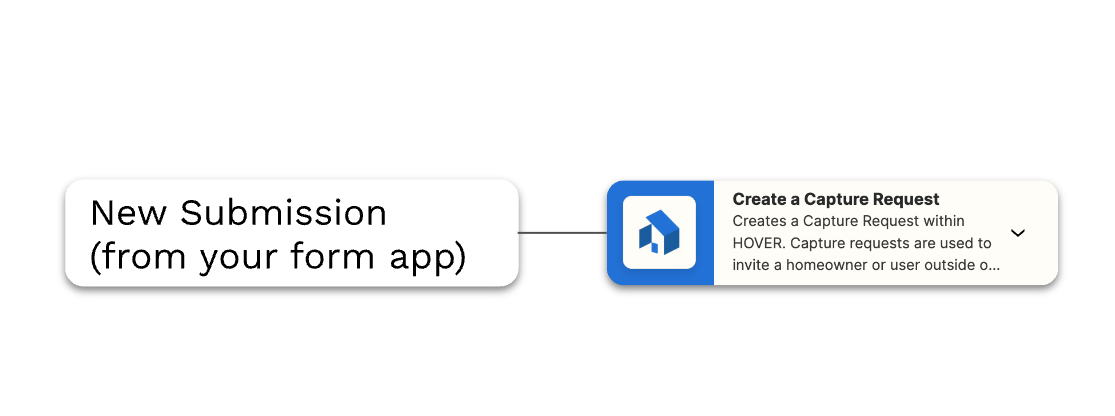
In your Zap, log into your form provider account using your credentials and select your newly-created form.

Setting up the Hover Action
Within the Hover action, follow the instructions to login to your Hover account. You will be prompted to grant Zapier access to your Hover data. Once you click Allow, you will be redirected back to Zapier.
Note: You must be an Admin User within Hover to connect with Zapier
Once authenticated, continue to the Action section and set the Sender Email as the email address you want to trigger the automated Hover invite to capture from each time the form is filled out.
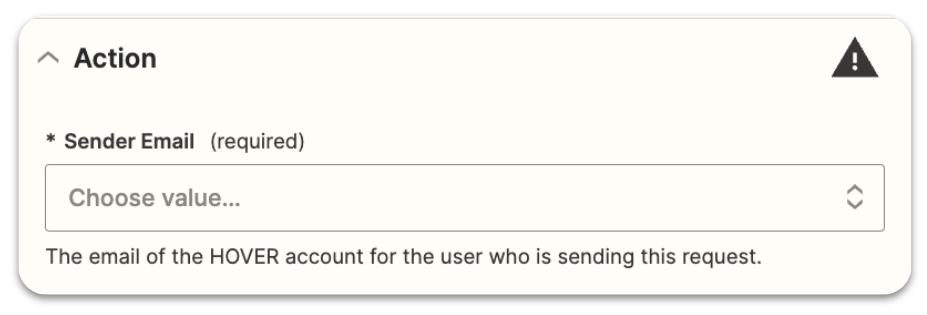
Tip: You can use a group email address, if you have one (e.g. info@your_company_name.com) which will allow anyone with access to that group to receive the Hover alerts when a new lead submits photos.
Next, click into each field within the form builder to complete the mapping of your web form to Hover through Zapier. If you use individual fields (city, state, zip_code, etc.) instead of a single field for the property address in the web form, map them to the corresponding fields in the Zapier action.

There are a few other required fields that you will want to configure within the Connect Request action:
Signup Type: homeowner
Suppress Hover Email: false
Deliverable Type: Select the option that's best for you from the following fields
| Deliverable Type | Description |
|---|---|
| Roof Only | When photos are captured successfully, it will automatically order and charge the account for a roof only deliverable type in Hover |
| Complete | When photos are captured successfully, it will automatically order and charge the account for a complete deliverable in Hover |
| Capture Only | Photos can be captured, but not deliverables are automatically charged to the account until a Hover administrator accesses the property and clicks the Order Measurements button. |
Note: Homeowners who capture their property will receive a 3D model of their come with design capabilities

Lastly, you will want to make sure you have selected a Payment Method on the account. You will still need to select a payment method for the Capture Only deliverable even though the Hover account will not be automatically charged with the Zap runs. When you've filled out all of these fields, publish your Zap and you're all set!

Alerting that a Capture Request was sent
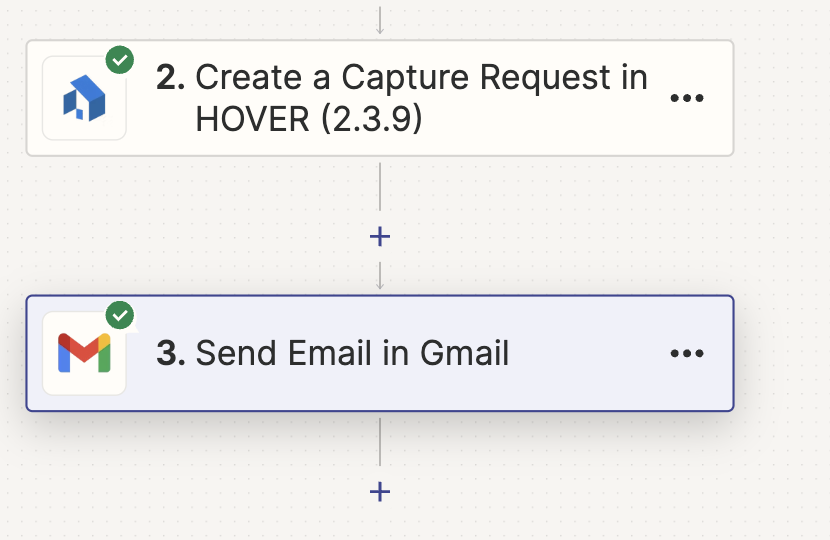
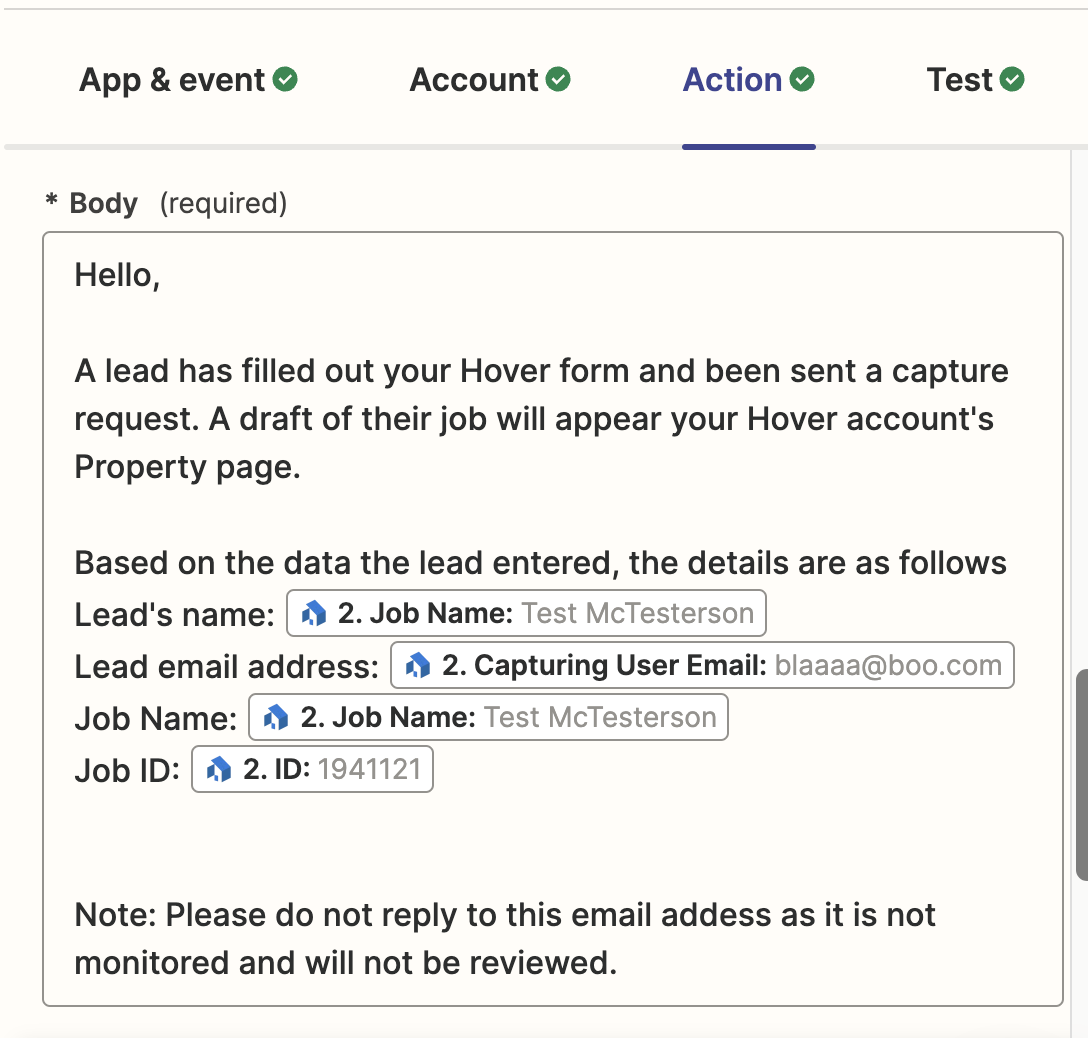
You can leverage a Gmail Zapier task to send you a notification email every time a capture request is sent, so you know you have a new lead, and a draft property in your Hover properties page.
After signing into the app, set the email address you want to receive the alert.
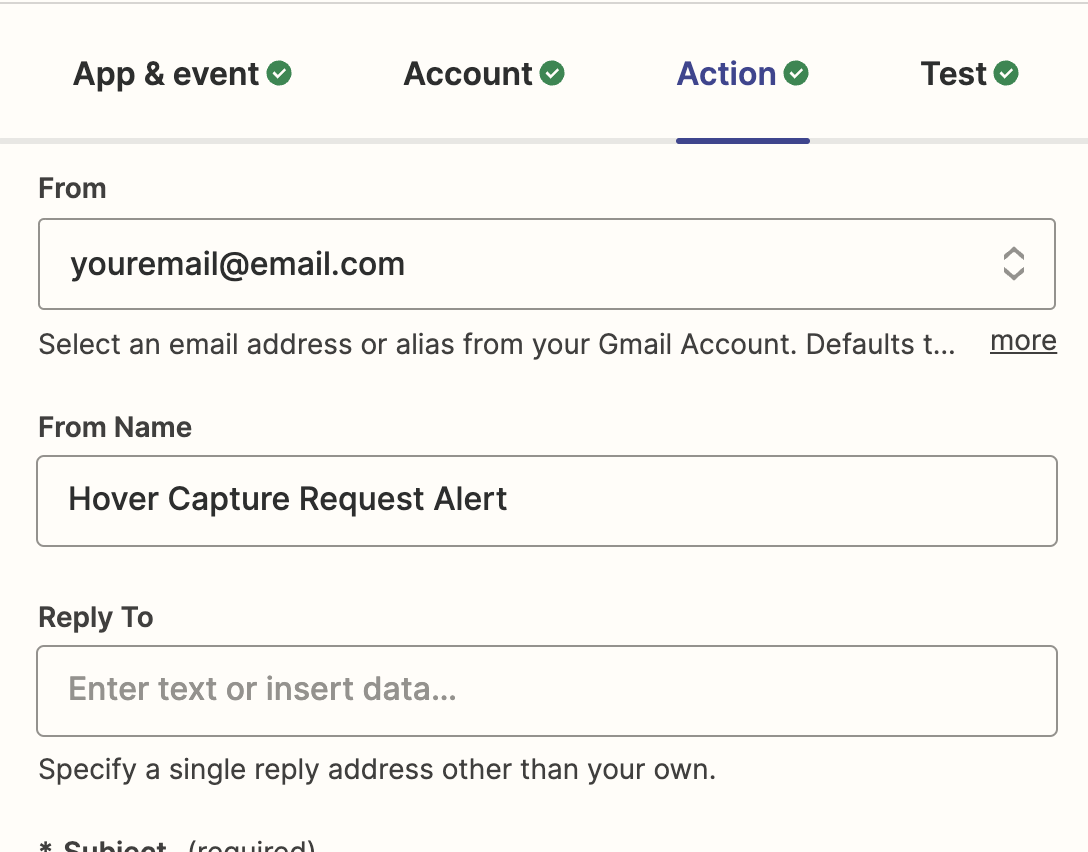
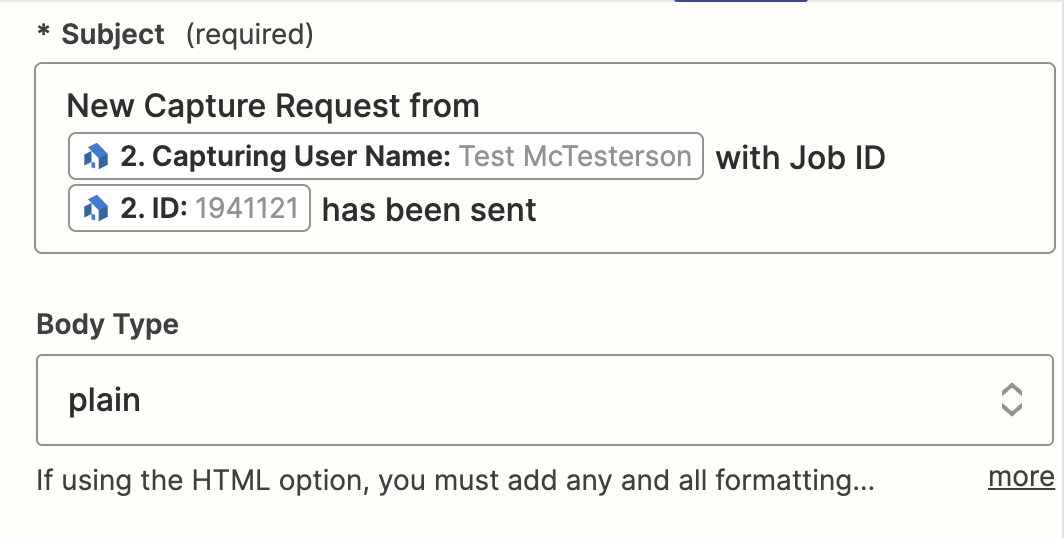
Set the name, subject, and body leveraging the data that is relevant to the alerts your team wants
Questions? Please reach out to [email protected].
Updated 18 days ago
